
Once again David Lebovitz has proved to me that he is an utter genius. I am about to say it...I once again had 5 ripe bananas sitting on my counter about to go bad. Yes, I am notorious for buying too many bananas and on a regular basis. Yet, I firmly believe it is simply my subconscious desire for an excuse to bake. Needless to say, I needed something new, something different, something delicious, and once again something banana.

I found this upside down cake and after a few moderations I was ready to bake.
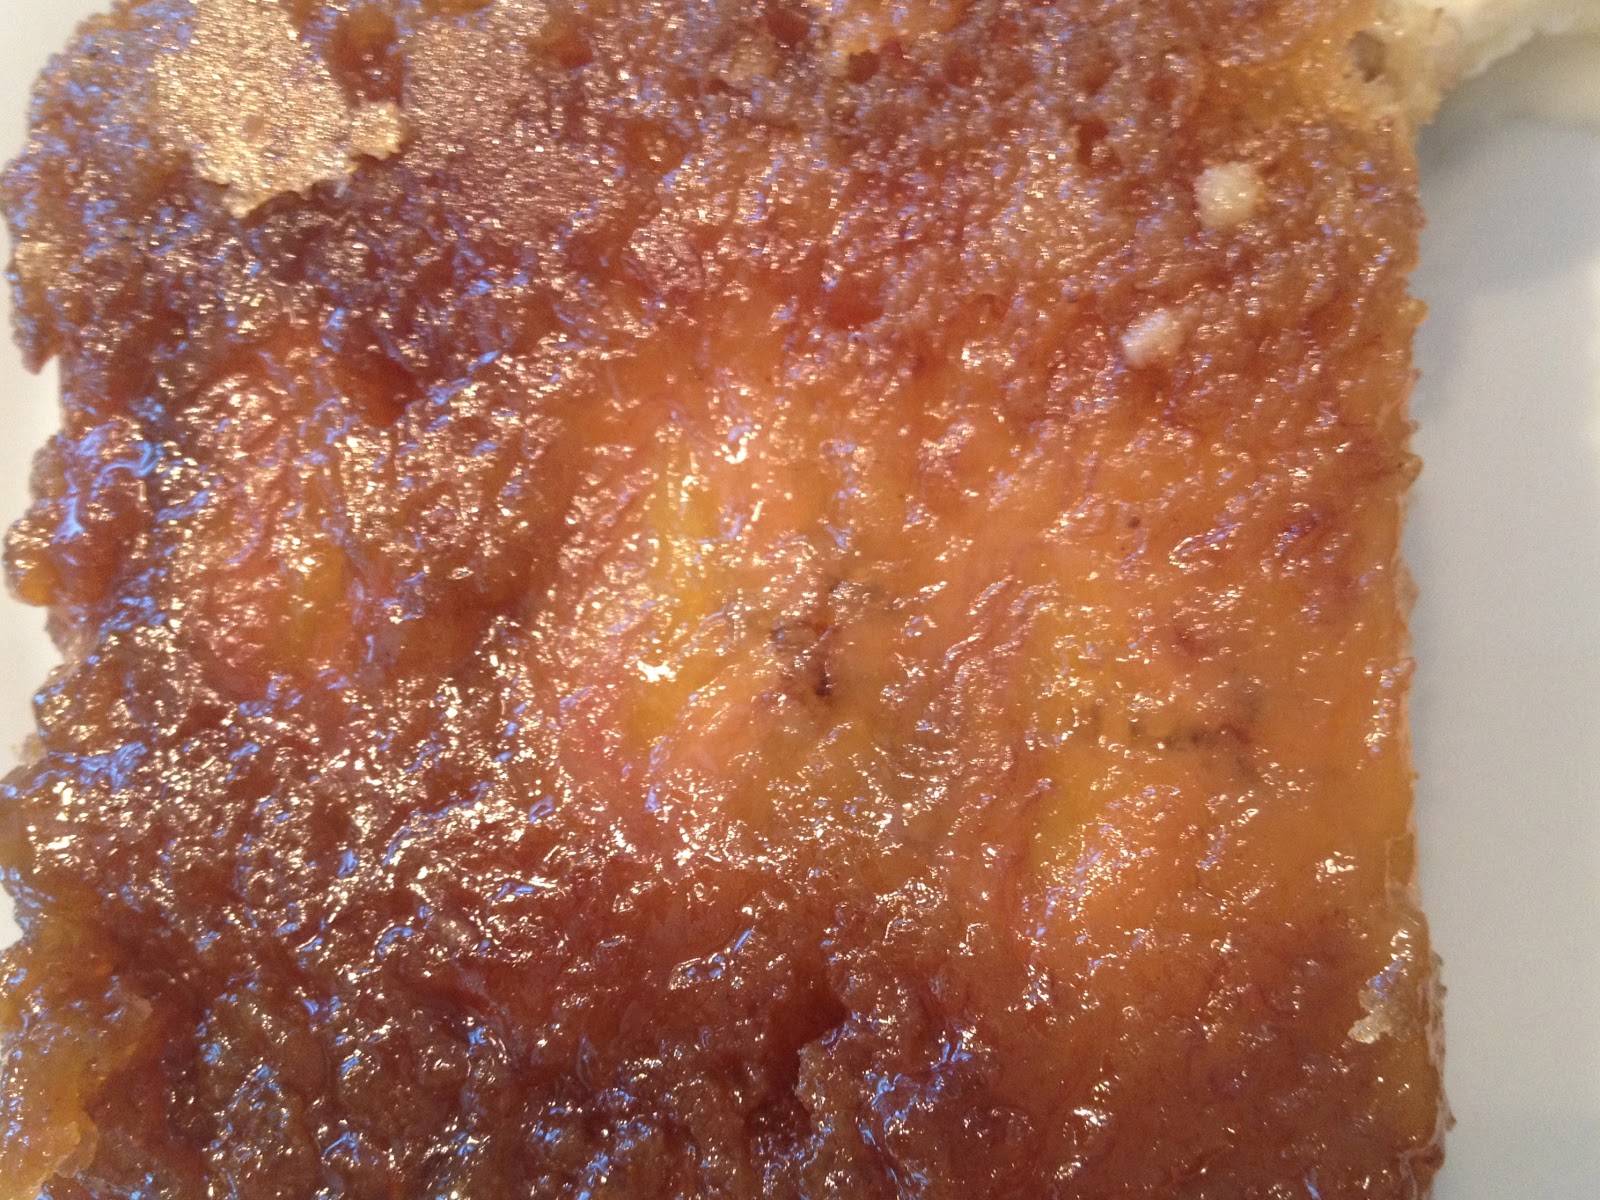
But once I placed the cake in the oven, I began to grow nervous about the caramel topping sticking to the bottom of the pan upon removal. After forty five minutes of agonizing torture and twenty minutes of "resting" the dessert came out perfect, top fully intact. Phew!
And instantly my mind switched thoughts. I could not wait to see if this gorgeous dessert tasted as good as it smelled and looked. The aroma that was coming from the kitchen was absolutely heavenly. I mean heavenly. A caramel-banana scent was filling the house. I simply could not wait for a warm slice with homemade vanilla ice cream.
And instantly my mind switched thoughts. I could not wait to see if this gorgeous dessert tasted as good as it smelled and looked. The aroma that was coming from the kitchen was absolutely heavenly. I mean heavenly. A caramel-banana scent was filling the house. I simply could not wait for a warm slice with homemade vanilla ice cream.


After the first bite, I literally melted into my seat. Okay, I may be exaggerating, but not by much. It was smooth, sweet, rich. It melted on your tongue. It was simply delicious! The caramelized topping made this dessert! As long as I have bananas laying around my waistline is in danger of this dessert. I am now a firm believer that bananas belong in the "dessert" category.

For the topping:
1/3 cup plus 2 tablespoons (60 g) packed dark brown sugar
2 tablespoons butter; cubed, at room temperature
3-4 ripe medium bananas
2 tablespoons butter; cubed, at room temperature
3-4 ripe medium bananas
For the cake:
1 1/2 cups (210 g) flour
1 teaspoon baking powder
1/2 teaspoon baking soda
1/2 teaspoon salt
1 teaspoon ground cinnamon
3/4 cup (150 g) granulated sugar
2 tablespoons (30 g) melted butter, salted or unsalted
1 large egg
1 large egg white
1 cup (250 g) banana puree (about 2 bananas)
1/2 cup (120 g) sour cream, regular or low-fat
1/2 teaspoon vanilla extract
1/2 cup (80 g) finely chopped pecans
1. To make the topping, place the brown sugar and butter in an 8-inch square cake pan. Warm the pan directly on the stovetop over low heat, stirring until the sugar is thoroughly moistened. Once the sugar is moist and begins to boil remove the pan from heat. It won’t melt completely smooth but it will be in liquid form. There may be a few bare spots, which is normal so do not worry. Let this cool to room temperature.
2. Next peel and slice the bananas in 1/4-inch slices. Arrange them in slightly overlapping rows over the melted brown sugar. You can get creative and make specific design if desired.
3. Preheat the oven to 350ºF.
4. Whisk together the flour, baking powder, baking soda, salt, and cinnamon in a large bowl, making sure there are no lumps. Then, mix in the granulated sugar.
5. In a small bowl, mix together the butter, egg, egg white, banana puree, sour cream, and vanilla.
6. Make a well in the center of the dry ingredients and stir in the wet ingredients until almost combined. Do not overmix. Gently fold in the pecans.
7. Scrape the batter into the pan over the bananas, then use a spatula to carefully spread the batter over the sliced fruit being careful not to move the fruit.
8. Bake for 40 minutes, or until the cake feels just set in the center when you touch it. Make sure it is cooked all the way otherwise the topping will stick when flipping over to serve. The cake will be a golden brown and won't stick to your touch.
9. Cool the cake for about 20 minutes, then run a knife along the edges of the cake to help it release from the pan. Invert the cake onto a serving platter. Do not rush this step! You do not want the topping to stick to the pan. Make sure it is cooled to almost room temperature, still warm, but not hot to ensure it comes out clean from the pan.
Serving: The cake is best served warm with whipped cream, vanilla ice cream, or by itself as a snack. If made an hour or so in advance, it can be inverted on the serving platter, and left with the cake pan over it, to keep it warm. Otherwise is can be rewarmed in a low oven, covered with foil. Or enjoyed at room temperature. I warmed mine at 350 by the slice for about 3 minutes just until warm.
Storage: The cake can be made up to two days in advance, although it is best the day it’s made. Keep is refrigerated if made ahead and then warm upon serving. To freeze it, wrap it securely in plastic wrap; it can be frozen for one to two months.

No comments:
Post a Comment
Lulu's dish looks forward to hearing from you.